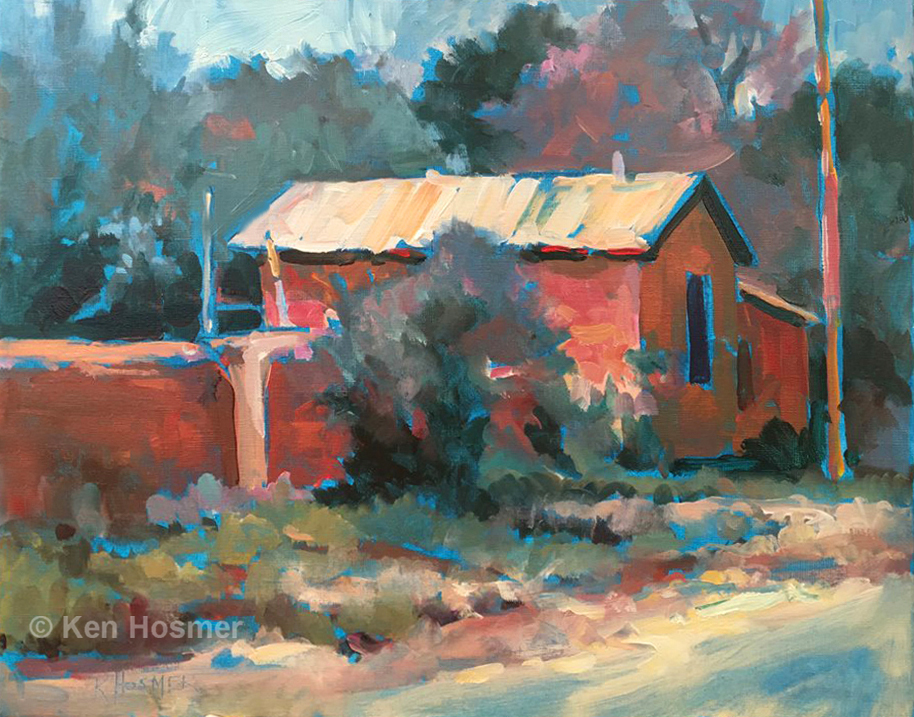
New Mexico Adobe
Golden brand OPEN acrylic paints, which dry much slower than traditional acrylics, offer great possibilities for blending. In the following studio workshop demonstration, I strive to paint quickly with the same freedom and bold brushwork that I use when working outdoors on location.
Featured Painting:
'New Mexico Adobe'—acrylic on canvas by Ken Hosmer
Step-by-step photos courtesy of Jerry Crump
Preparation
In preparation, I cover the canvas with turquoise blue (regular acrylic paint) and dry it. I then sketch in my subject with vine charcoal.
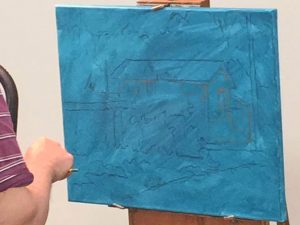
Block In
To make the painting process go quickly, my first goal is to block in large flat value areas with little blending. Additional colors and edge refinements will be added later, as the OPEN acrylic will allow an hour or more of blending time.
First I block in the building walls in a warm mid-value. Then I add dark accents under the eaves and in the window, followed by lights on the roof and lighter sunlit areas of the adobe wall. I have tinted the white with yellow and red to keep the lights warm.
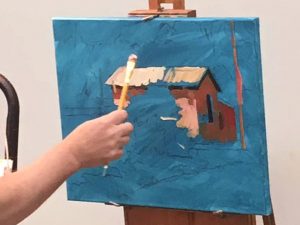
Next I lay in the background trees. Notice that their basic value range is dark to mid-value. I use a large brush to block in the trees and create treelike edges.
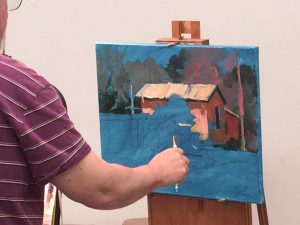
Once the background is in, I move forward with a variety of mixed greens to build the foreground foliage areas. Yellow Oxide is added, warming the foliage as it comes forward.
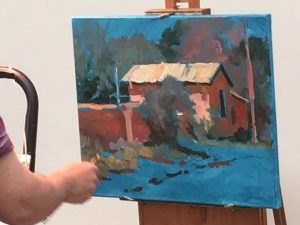
With fairly thick paint, I add lights to the sky and road. Notice that I leave random pieces of the background turquoise as I paint.
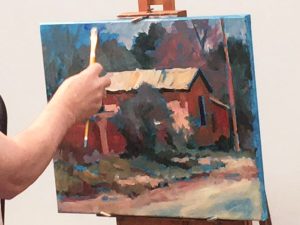
Make Adjustments and Refine Edges
Now that the "block in" is complete, I go back and refine areas. First I add brighter reds to the adobe walls and fence, then repeat the reddish hue in the background trees and road areas, and finally, blend and fine-tune edges.
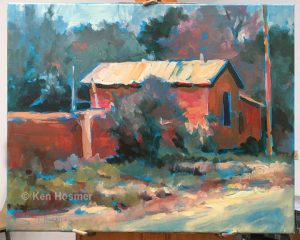
In the final stages, I make every effort to keep the brushwork spontaneous and not overwork or over refine.
If you would like to try this technique:
See Workshop Schedule (Oil / Acrylic Workshop)
